S

Funwithnancy

Follow Me on Pinterest

Tuesday, April 3, 2012

Zebra Baby Shower Finishing Touches

I promise this is the last of the zebra baby shower posts. I must admit it makes me sad. I had a lot of fun with this baby shower. I titled this finishing touches because it's that attention to all the small details that in the end gets you the "WOW" factor.
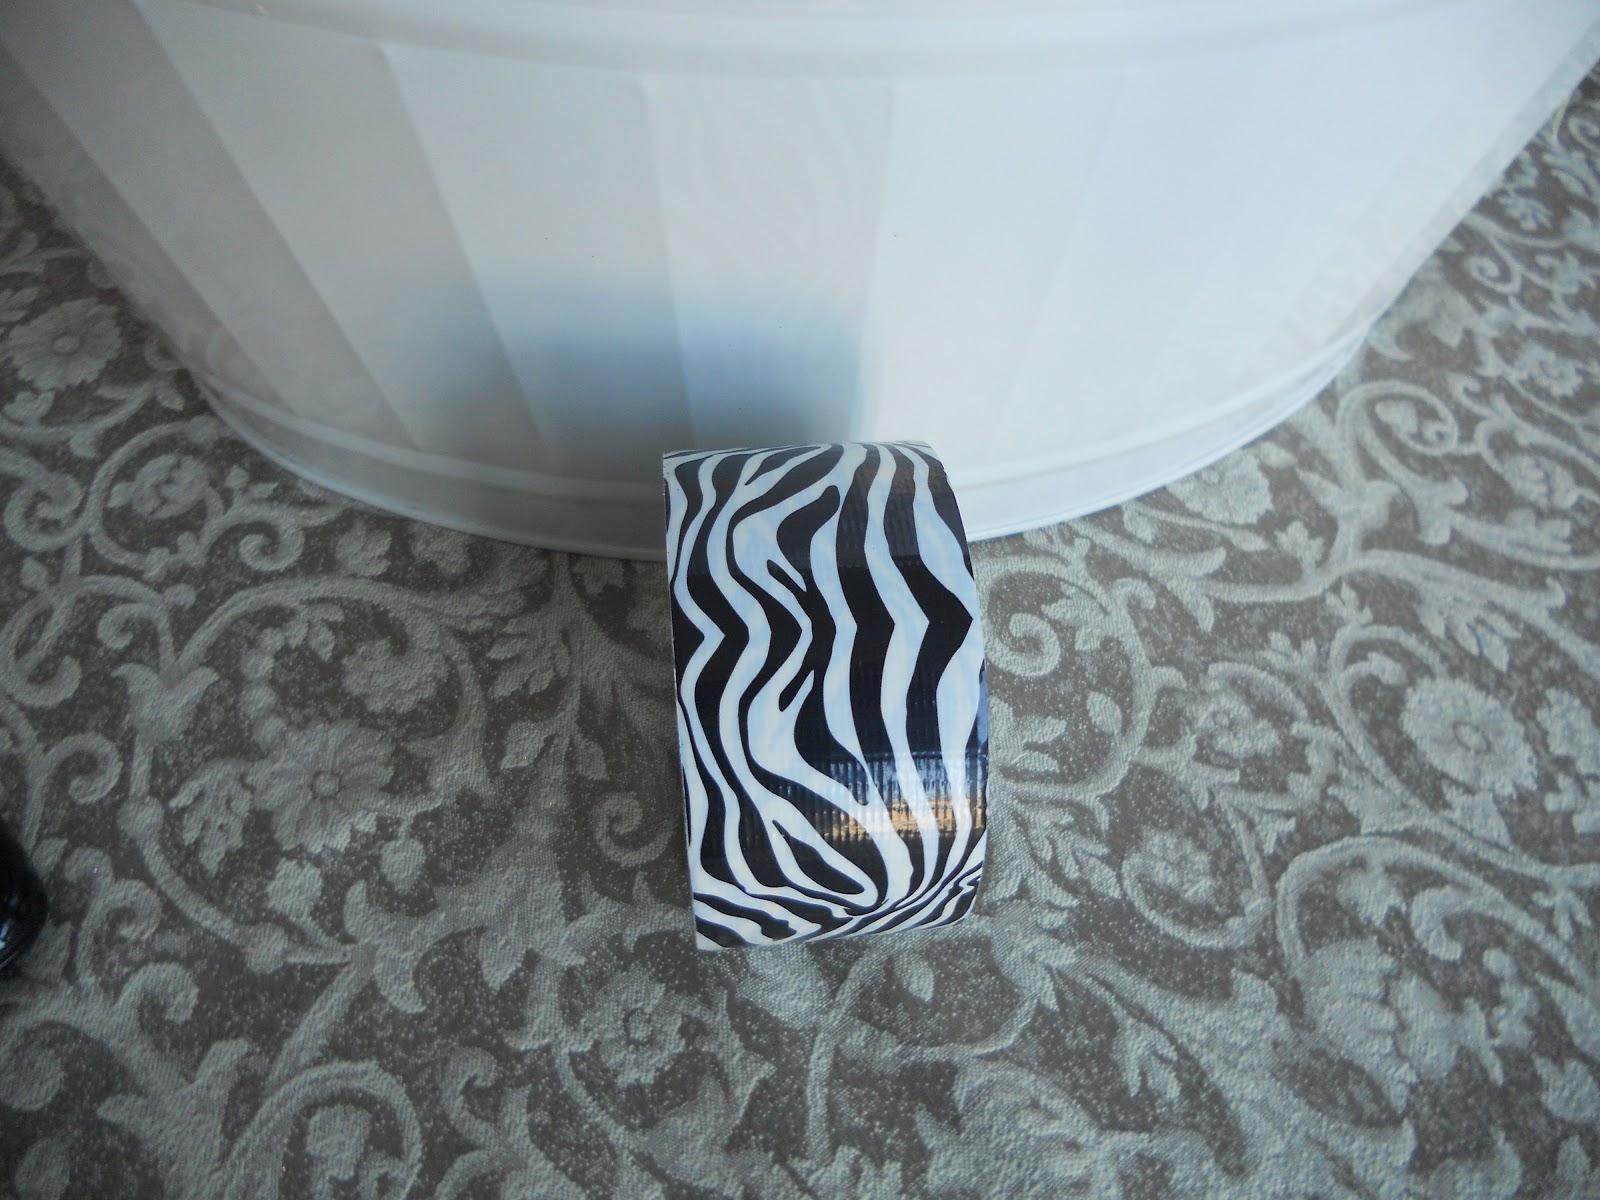
Water tub. I had this one from a friends baby shower, but as you see its not zebra.
But what's this? Zebra tape!
Like magic! it's a zebra tub now!
What would look cuter than this tub you ask? This tub full of zebra and pink personalized water bottles!
These are so adorable! I order my water bottle labels on-line, but you can make your own with computer programs and labels. I personally don't think it's worth the time or ink to make them myself.
If you're going to play games or need pens then this tutorial on fancy pens is a must! So easy and very inexpensive. Everyone loved them and asked if they could keep the pens!
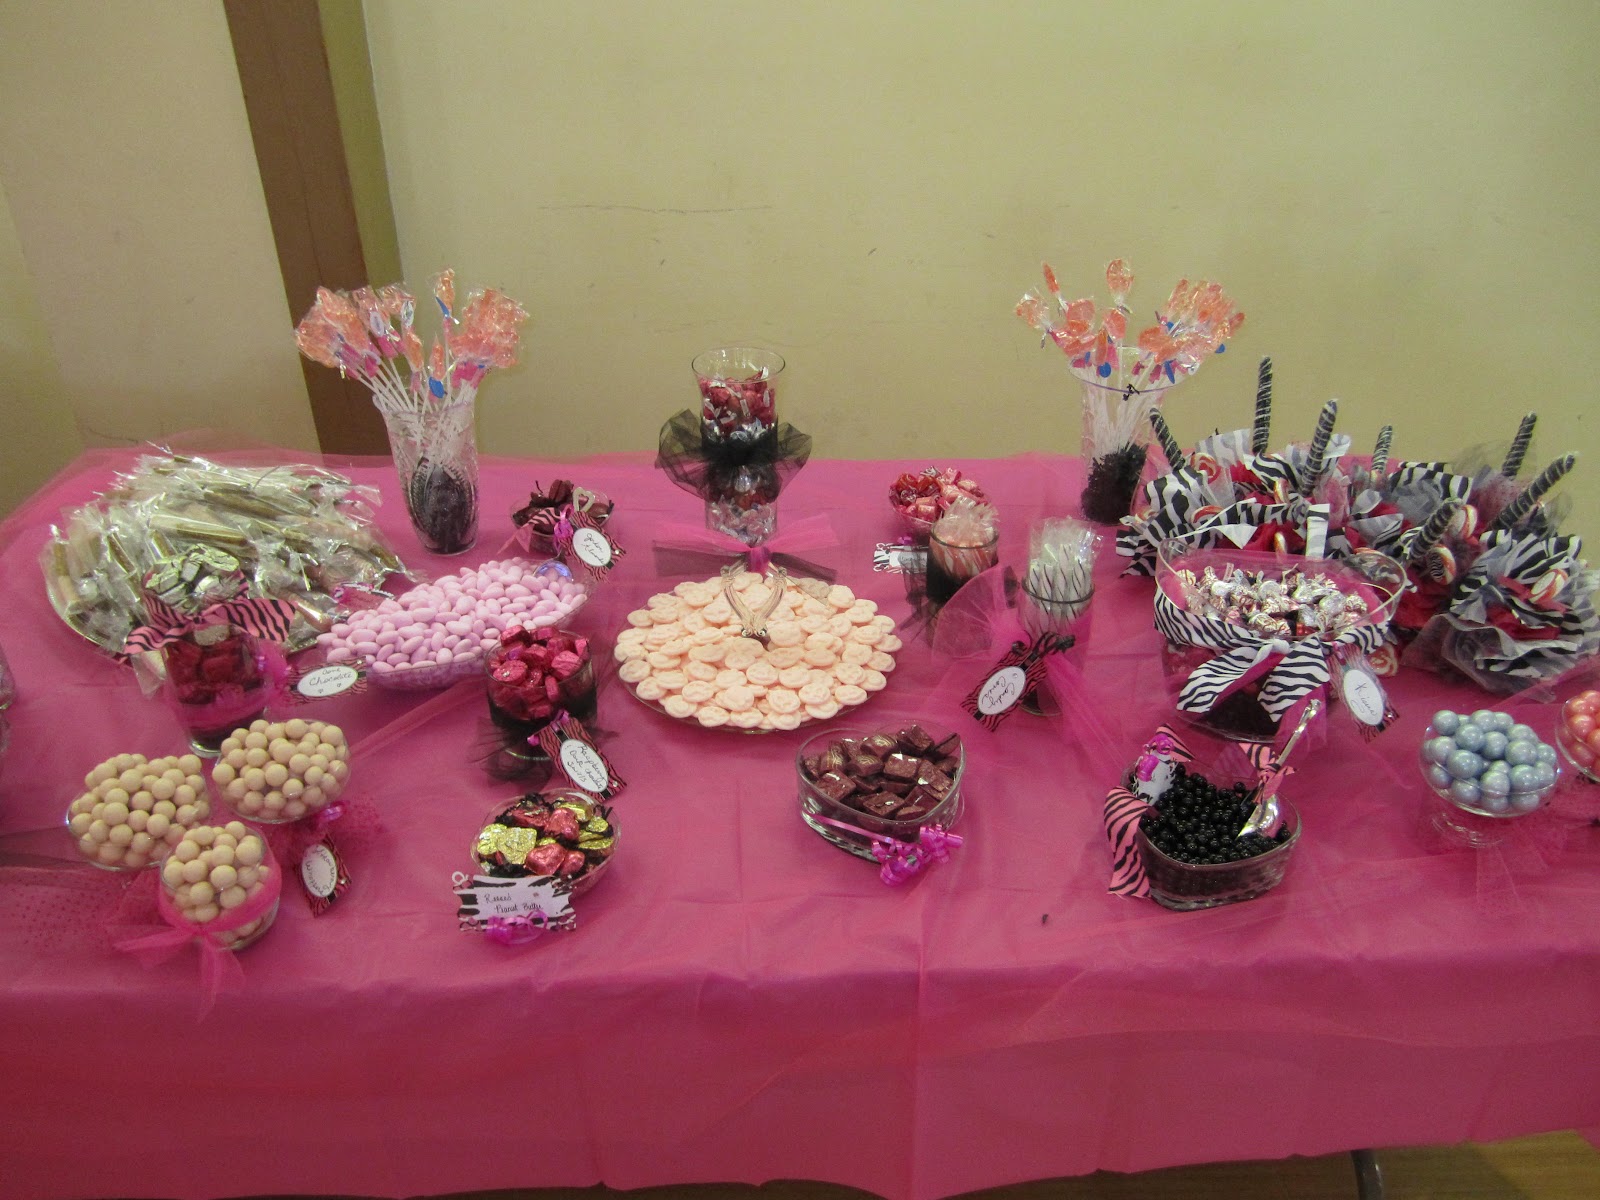
Candy tables are all the rage, and I for one love them! We used a combination of home made and store bought goodies with adorable hand written labels. If your interested in the recipe for the chocolate pretzels or cream cheese mints here's the links.
we covered the table in hot pink plastic and pink tulle
We actually served a food buffet of fried chicken, pasta, etc, but somehow I didn't get any pictures! I was too busy talking working. I know (I suck!). However, I did manage to take a picture of the utensils. I have a short tutorial on how to wrap them.
This really cute banner was easily made by a real amateur (me). If you would like to make one see the tutorial.
One of the games we played was pass the tray. I love this game because its so fun to see how many items guest can remember when they only have 2 minutes to look at the tray. I made this from a previously used food tray. I hot glued the lid upside down onto the bottom tray and them used the zebra tape on the rim coordinate with our zebra theme.
I never know which sweeteners to serve. Sugar is a given, but the sugar substitutes can be tricky. Equal, Truvia, Splenda, etc. So, for a few extra dollars I just threw caution to the wind and served all of them. These unit of use packages are great because there is no waste. I found this hot pink & zebra heart container at the craft store and it worked perfectly!
I loved how it turned out.
I made 2 balloon poles. Here is the tutorial on this balloon pole. My only regret is the top balloon (the header)  was much smaller than the size I thought it was. I was disappointed, but it is what it is.
The entry table was adorable. The signature book, pens, baby wish cards, etc. We played a game where the Mommy-to-be drew names from the self-addressed Thank You cards. We gave every guest an envelope and asked them to self-address it. Now that makes the tasks of thank you cards much easier.
Hot drink station had coffee, decaf coffee, hot water, tea bags, & hot chocolate packets. I placed the cups and creamers on top of zebra scrap booking paper as a mat, stir sticks in a plastic zebra cup.
hand made labels added a nice touch.
I want a cup of coffee...
In the background you can see a zebra tray with zebra gifts. These were the guest gifts for the games we played. The tray is a simple tray wrapped in ribbon.
The tables were covered in hot pink with balloon bouquets. On the back wall you can see the gift table and next to it the cold drink station. One of my nieces friends made her a diaper cake. Such a cute idea for the gift table.
The knife and server were adorned with zebra ribbons
 The chocolate fountain table had marshmallows, wafer cookies, honey pretzel twists, strawberries, & Rice Krispie treats. We pre-speared them before hand to reduce wait time as guest dipped away. All the plates and napkins were of course hot pink & zebra print.
The Mommy-to-be by the cake table. You can check out the belly cake tutorial.
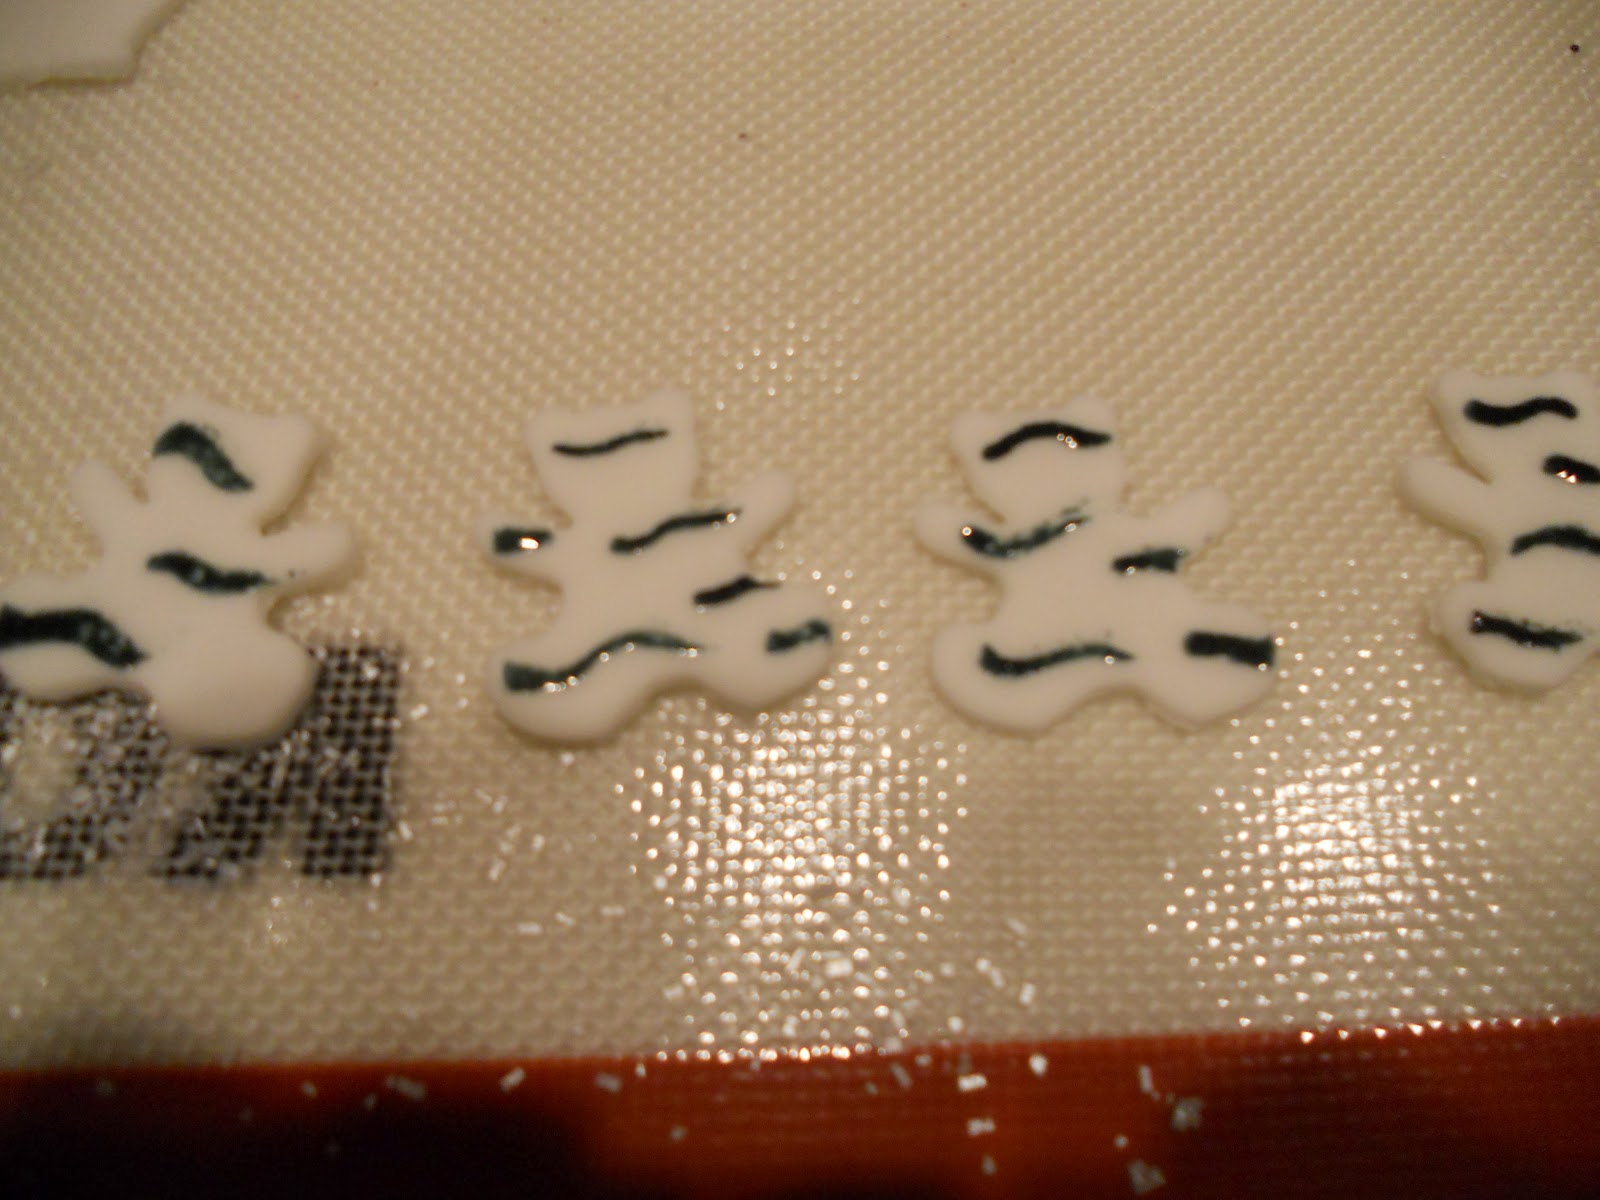
Zebra striped fondant toppers were adorable and super easy to make. See the above cake tutorial.
The cold drink station had this really cute pink lemonade fountain. Pop was placed in a big plastic tub covered in a black trash bag and taped with zebra tape and pink bow.
All in all it was a very fun shower and I think the guest had a great time. It is these little details that add up to one really great shower. I hope you can use some of these ideas for your next party!

Friday, March 30, 2012

Zebra & Pink Cake and Cupcakes

My niece found an adorable cake on Pinterest and wanted it for her shower. The only problem is that the cake on Pinterest had a foot imprint on the belly and we thought that looked kind of creepy (no disrespect meant to the original baker), it just wasn't our style. So here is the cake I made. No foot on the belly.

This cake is realitivly easy to make. You need a baseball pan and a scocer pan. Put one little dab of icing under each ball to secure it to the board. Make sure you level your cakes first so they sit flat. See my tutorial on Maria's Wedding Cake.


Then place a thin layer of buttercream icing to catch any crumbs (also known as a crumb coat), finish icing and add a layer of fondant. I usually make marshallow fondant but I used Wiltons ready made fondant for this cake. No reason, I was just lazy.
This cake will not serve many people, maybe about 15-20 at the most, so I made cupcakes too.


each cupckae was topped with a fondant cut out in the shape of a princess crown, a teddy bear, or a little chick

These are super easy to make but require a few days to dry.

using a small cookie cutter I cut out all the shapes. I then painted directly on them with black food paste (Wilton) in a zebra print.
They will never dry! So I dip them into sanding sugar. This was a beautiful irridesent sugar I got from Hobby Lobby (I don't monitize so free advertizing for them!)

Then place on a cookie rack and leave them out to dry for a few days. Make your life easy and put these on after you've loaded all your cupcakes into the final display stand. I pack mine in a plastic container with wax paper between each layer.
If you know me then you know I couldn't leave well enough alone so I made the actual cake and cupcake batter zebra too!
I'll spare you the tutorial since I got it off of Pinterest. Here is the link to that tutorial "Zebra cake"
Here is my Beautiful Niece Maria ready to pop that baby girl out!


Chocolate Pretzel Sticks

Today's blog is about chocolate covered pretzel sticks. They are supper easy to make. It almost seems silly to give you a tutorial, but I had to google the process since it was my first time. If your reading this, then maybe you've thought about making them too.
The shopping list is simple. I used candy melts, large pretzel sticks, and food coloring if needed.
I melted my candy in a glass jar so the dipping process would be easier than the tutorials I had seen on google.
Microwave the candy melts on high at 30 second intervals, stir, and repeat until all the candy is melted. I used a kabob skewer to mix.
line a cookie sheet with wax paper and start dipping the pretzels.
Here (this is a view using pink chocolate) you see how I tilted the jar to get a nice even coat of chocolate. Twirl your pretzel stick as your take it out to keep the chocolate coating even.
I placed the coated sticks into the refrigerator for about 30 minutes. You will get some chocolate puddles but that's no problem.
Just use a knife and carve it off. I made white sticks with pink drizzles and visa versa. I put my contrasting colored chocolate into a plastic baggie, snipped off a very small section of one corner and used it as a pastry bag as I used a random drizzle pattern.
you don't need a knife to clean the excess drizzle, they just snap off with your fingers once they've dried. I bought Wilton pretzel bags, wrapped each one individually, and added curling ribbon. Unfortunately I don't have that picture but you can see the final presentation in the far left corner of the candy table below. I know I took those pictures! Sorry guys! Next time I'm going to stand them up in a vase instead of laying them down in a tray. Live and learn.
The taste of salty pretzel mixed with the sweet chocolate was just delicious! Give them a try!

Thursday, March 29, 2012

Cream Cheese Mints

You can't have a baby shower and not serve cream cheese mints, they're tradition!
I remember as a child they were served at every baby shower and how much I loved them.  I still think they're yummy!
There are only 3 ingredients + food coloring:
2 lbs (one large bag) of powdered sugar (any brand will do)
8 oz of room temperature cream cheese
2 to 3 drops of spearmint oil. I buy mine in the candy isle of Hobby Lobby or Micheal's. If you are tempted to put more than 2 to 3 drops of this oil in DON'T! it gets stronger as the flavors cure overnight. I let 2 drops drip into a spoon to prevent it from falling into the mixture.
Food coloring of your choice.
I mix the food coloring into the cream cheese until I get the desired color I want then I mix in the flavoring and powder sugar. You will end up using your hand to finish mixing it. I usually dump it out onto my counter and knead it until it looks like this.

Then I cut it into fourths, wrap each piece separately in plastic wrap and refrigerate it overnight. When your ready to make the mints, take one-fourth out of the refrigerator at a time. It rolls better if its cold.
Knead a piece for a minute to slightly warm it up and pinch off small little balls and roll into sugar. If this is your first time making the mints roll one ball to assure it is the correct size for your mold.
press the ball into a rubber or silicone mold (I ordered mine on-line from a candy company for about $3.50)
then just pop the mint out onto wax paper. That's it! I put my mints on cookie trays and refrigerate them for a few hours before I pack them into a plastic container or a box. Put wax paper between each layer. Keep them refrigerated until your ready to plate them. They freeze beautifully too!
They look as good as they taste.
and they are adorable in blue too (yeah, I know my picture is sideways. oops)
Try them at your next event. They are great for weddings, birthdays, what ever the event!