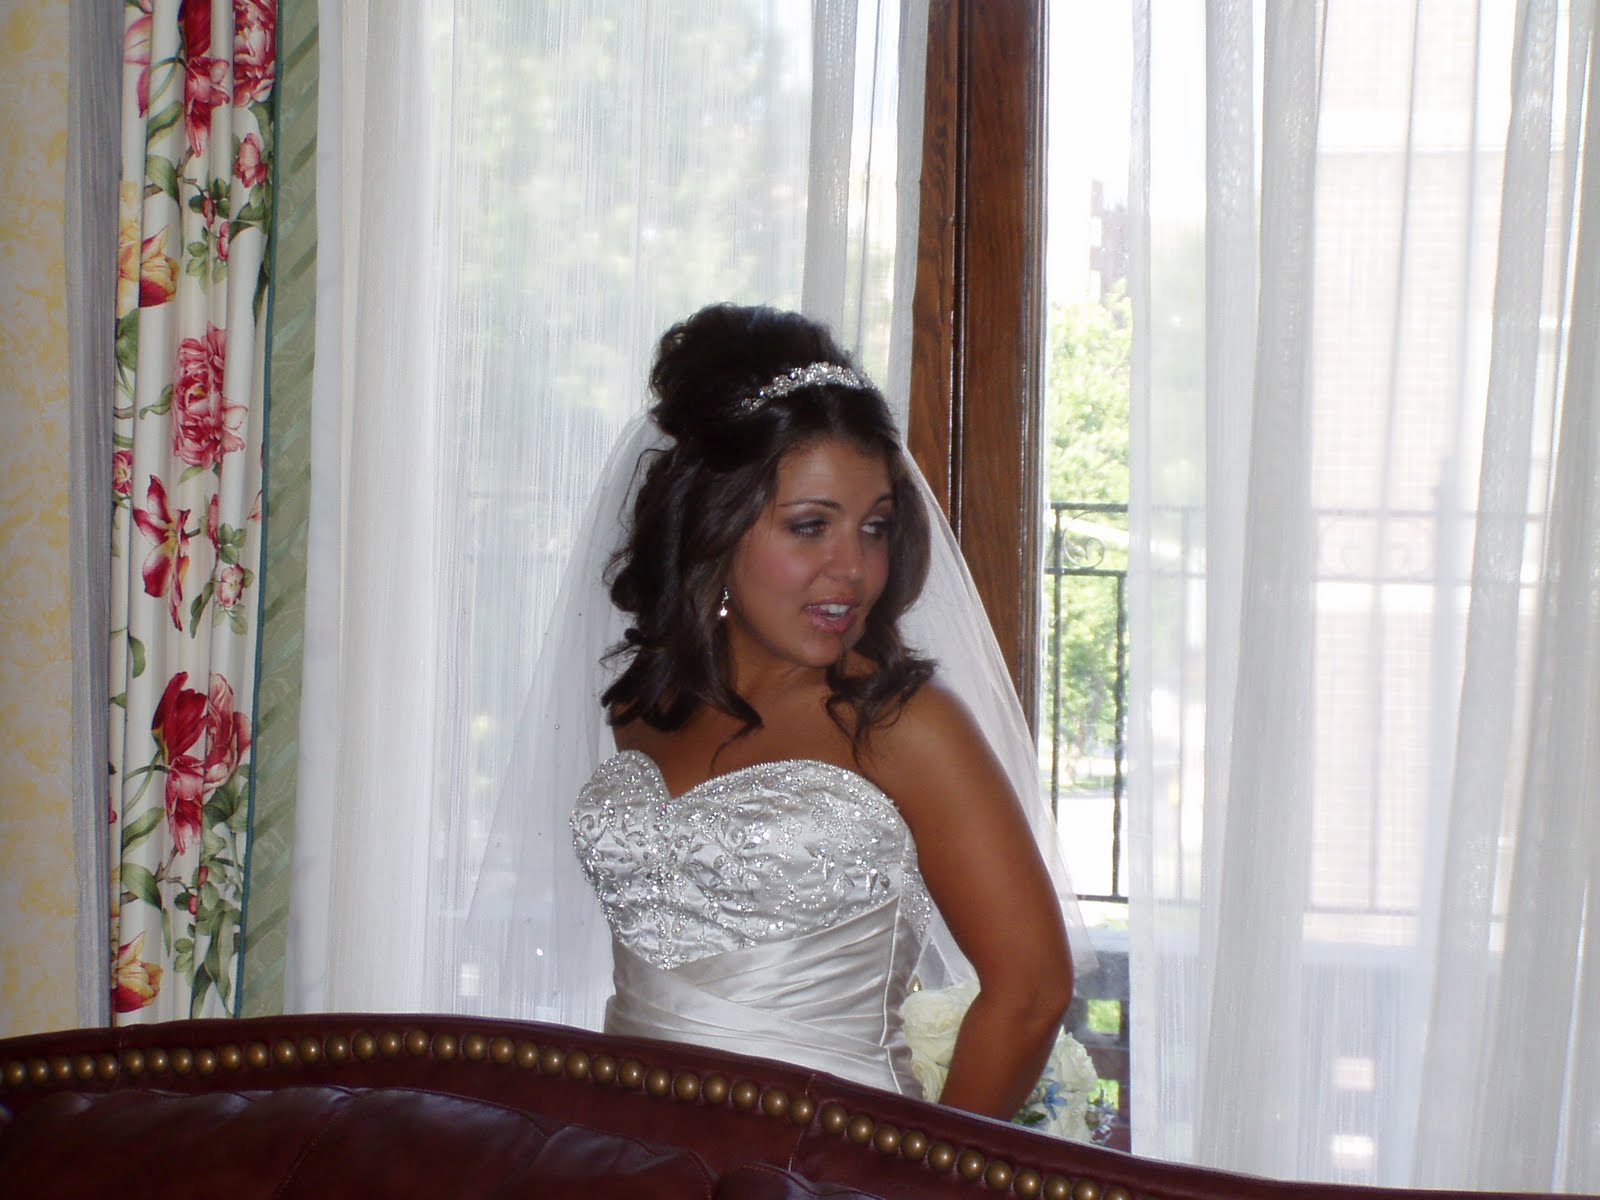
Many years ago my sister and I made wedding cakes. My sister passed away in 1998 and so did my passion for many things we did as a team. Today I only make cakes for family. This is my niece Maria's wedding cake. The very first wedding cake we made by the way was for her mother and father 25 years ago. I started this cake by making the flowers out of red gum-paste.


The cake was one layer white and one layer red velvet. Each tier gets leveled.

32 lbs of buttercream frosting (made 2 lbs at a time).

each layer is filled with buttercream and then re-leveled.


then everyone gets a crumb coat before frosting.

each tier gets a fondant border painted silver. My husband Joe actually painted 5 of the tiers borders and highlighted all the gum-paste flowers with gliter.

All of the cakes waiting for the final assembly.

and here it is.

I loved making her cake but I know why I quit doing this years ago!!!!

 The cake was one layer white and one layer red velvet. Each tier gets leveled.
  32 lbs of buttercream frosting (made 2 lbs at a time).
  each layer is filled with buttercream and then re-leveled.
 then everyone gets a crumb coat before frosting.
  each tier gets a fondant border painted silver. My husband Joe actually painted 5 of the tiers borders and highlighted all the gum-paste flowers with gliter.
  All of the cakes waiting for the final assembly.
 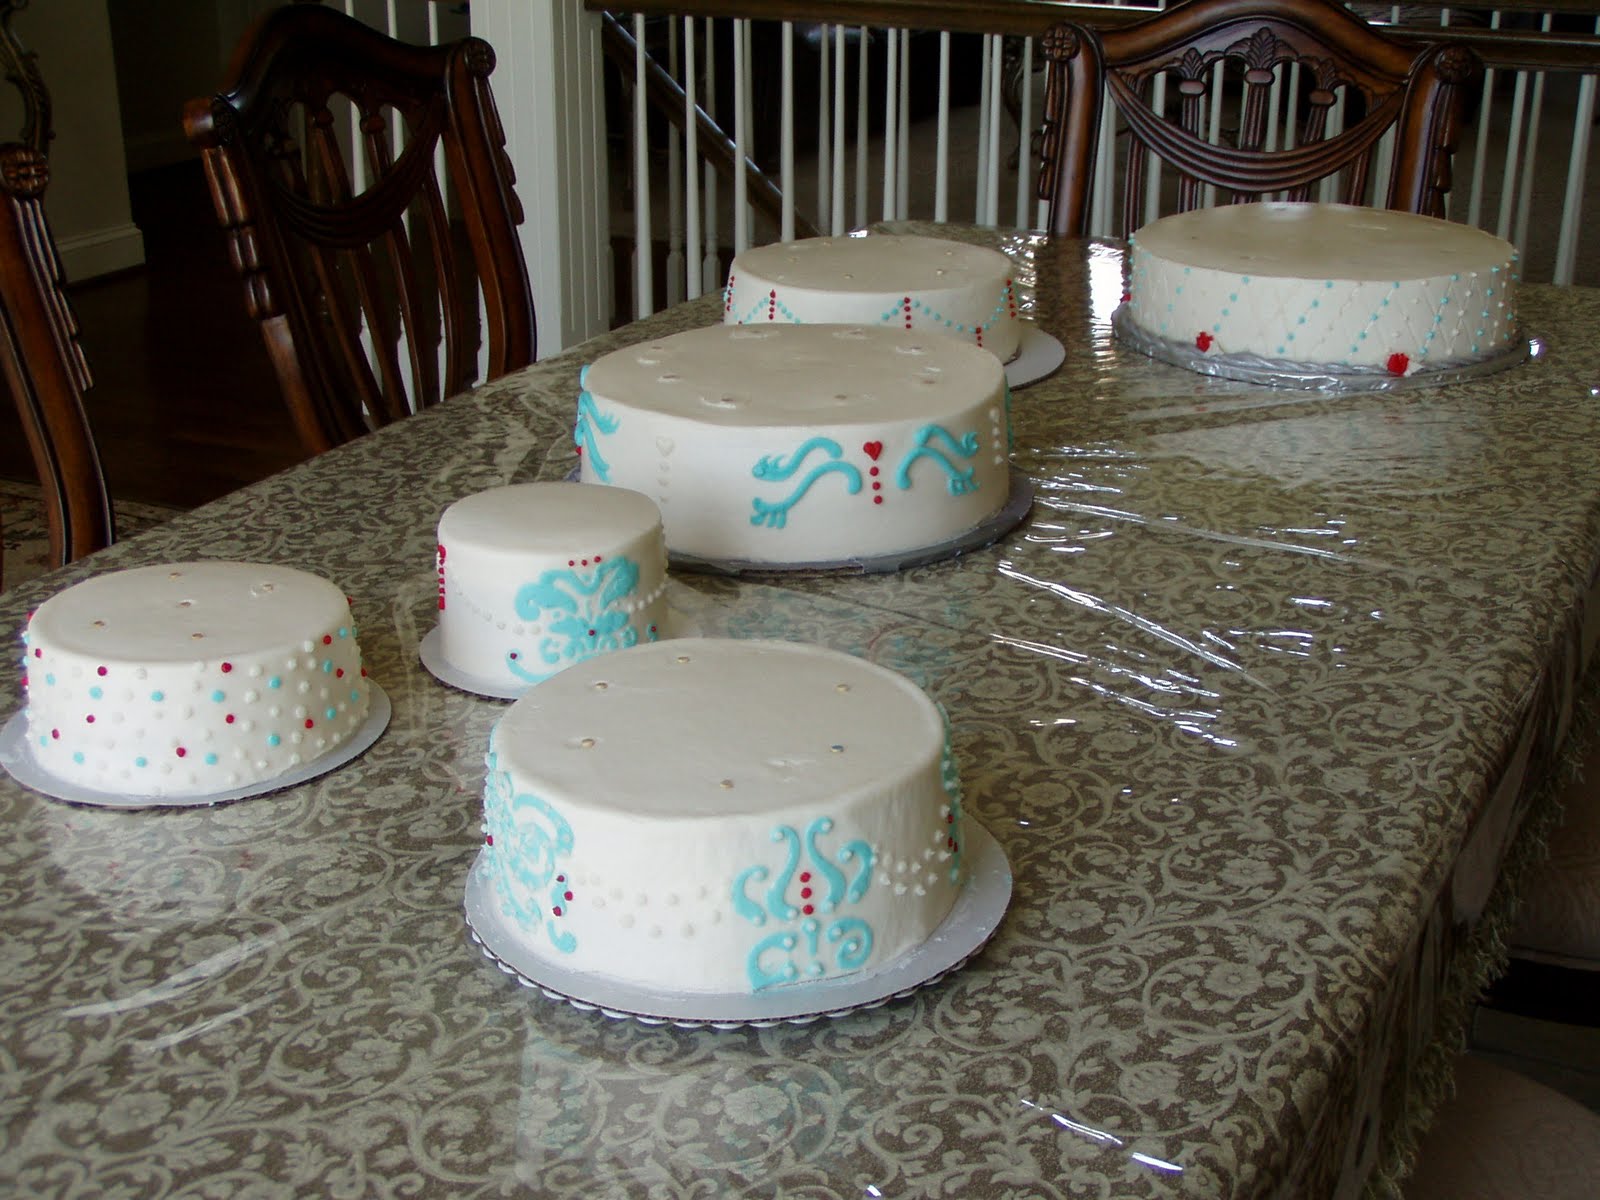 and here it is.
  I loved making her cake but I know why I quit doing this years ago!!!!